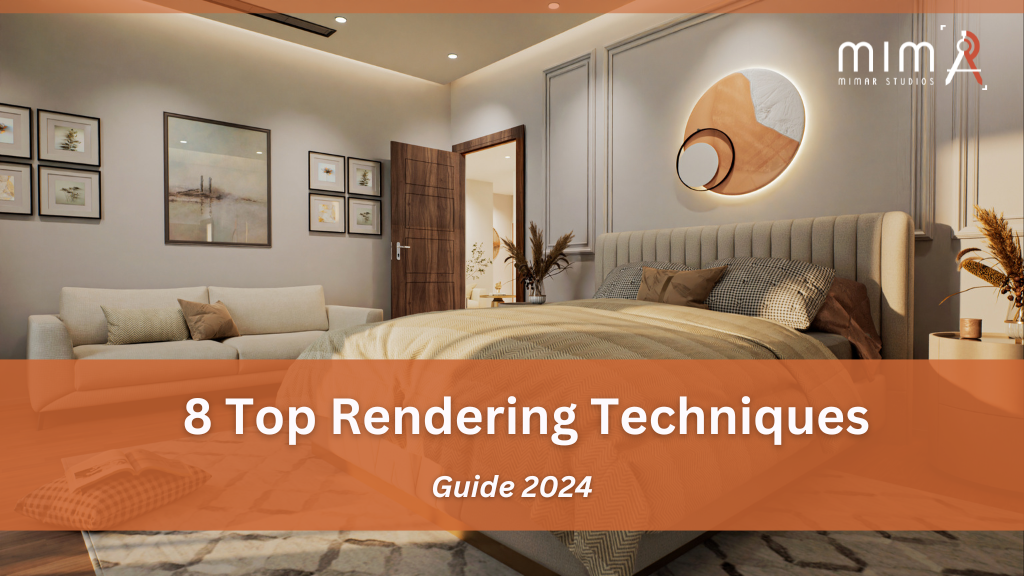
In today’s fast-paced business environment, rendering has become an indispensable tool for marketing, presentations, and project visualization. The choice of rendering techniques plays a critical role in determining the final product’s quality, implementation time, and overall cost.
This article will delve into various rendering techniques, examining their advantages and disadvantages to help you make informed decisions. Additionally, it will offer practical tips to enhance your 3D rendering techniques process, ensuring your projects achieve the desired impact. We’ll also explore strategies for finding the right 3D modeling services to meet your specific needs and elevate your visual presentations.
TYPES OF RENDERING TECHNIQUES
Choosing the right rendering technique is crucial for achieving the desired quality and efficiency in your projects. Here’s a detailed breakdown of various rendering techniques, their pros, and cons, explained in simple terms.
Scanline Rendering
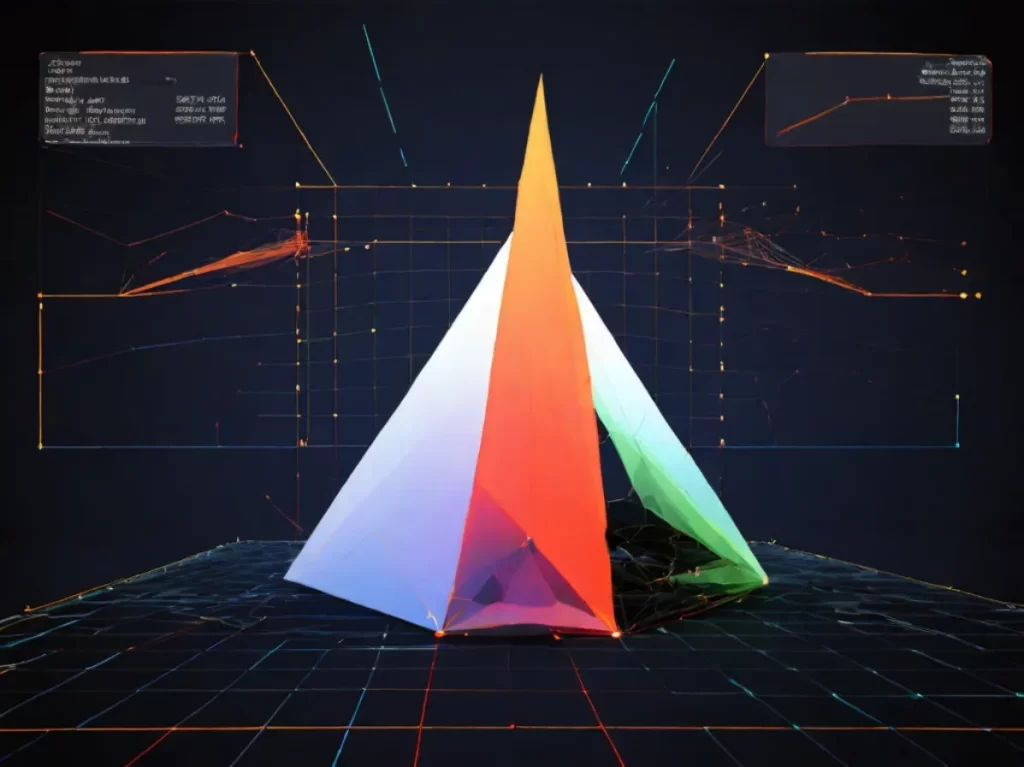
Scanline rendering is an older, traditional method that processes each polygon row by row to create a 2D image. This technique involves scanning the top row of coordinates of each polygon, and then converting the digital information into a visual image, making it relatively straightforward and quick to execute.
Pros
Scanline rendering is quick and efficient, making it ideal for projects with tight deadlines. It also requires less storage space, which helps in managing project size. Most standard 3D software includes tools for scanline rendering, so it’s readily accessible without needing specialized programs.
Cons
Customizing scanline rendering for complex scenes can be challenging, as the method is relatively basic compared to more advanced techniques. It may struggle with rendering intricate details or sophisticated visual effects, limiting its application in highly detailed or photorealistic projects.
Z-Buffer Rendering
Z-Buffer rendering determines the depth of each pixel in a scene, ensuring the correct objects are displayed in front of others. This technique stores depth information for each pixel, helping to manage overlapping objects and create accurate visual representations based on their distance from the camera.
Pros
Z-Buffer rendering is easy to implement and works well with Depth of Field (DoF) effects, adding natural blurring and sharpness. It processes scenes quickly, making it suitable for projects that require fast rendering times without sacrificing quality.
Cons
Lighting techniques add depth and realism to renders by manipulating light and shadows. Shading adjusts the light and dark areas to create volume while lighting simulates various light sources, enhancing the natural appearance and adding complexity to the scene.
Texture/Bump Mapping
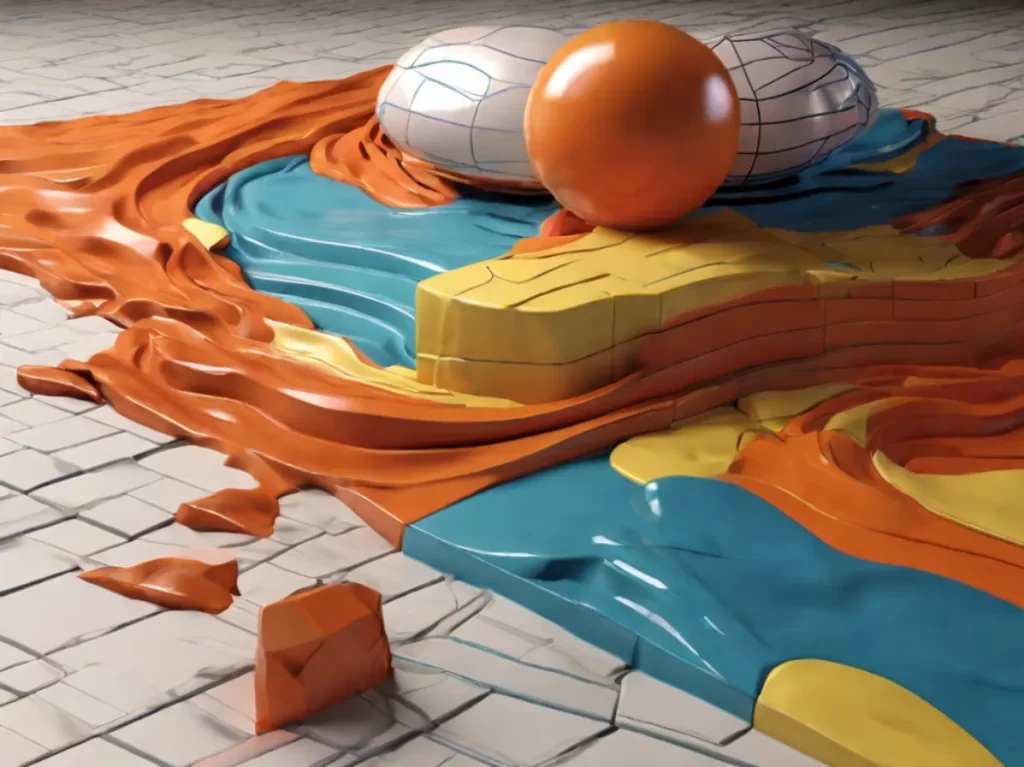
Texture mapping involves wrapping a 2D image around a 3D model to give it color, material, and detail. Bump mapping creates the illusion of depth and texture on flat surfaces by simulating bumps and wrinkles, adding realism without increasing polygon count.
Pros
Texture and bump mapping significantly enhance realism by adding detailed surfaces and textures with fewer polygons. These techniques can be performed using standard rendering engines, making them accessible and practical for a wide range of projects.
Cons
The primary limitation is that these techniques may appear less realistic when zoomed in closely, as the textures are essentially 2D images. This can lead to a lack of detail in close-up views, reducing the overall realism in some scenarios.
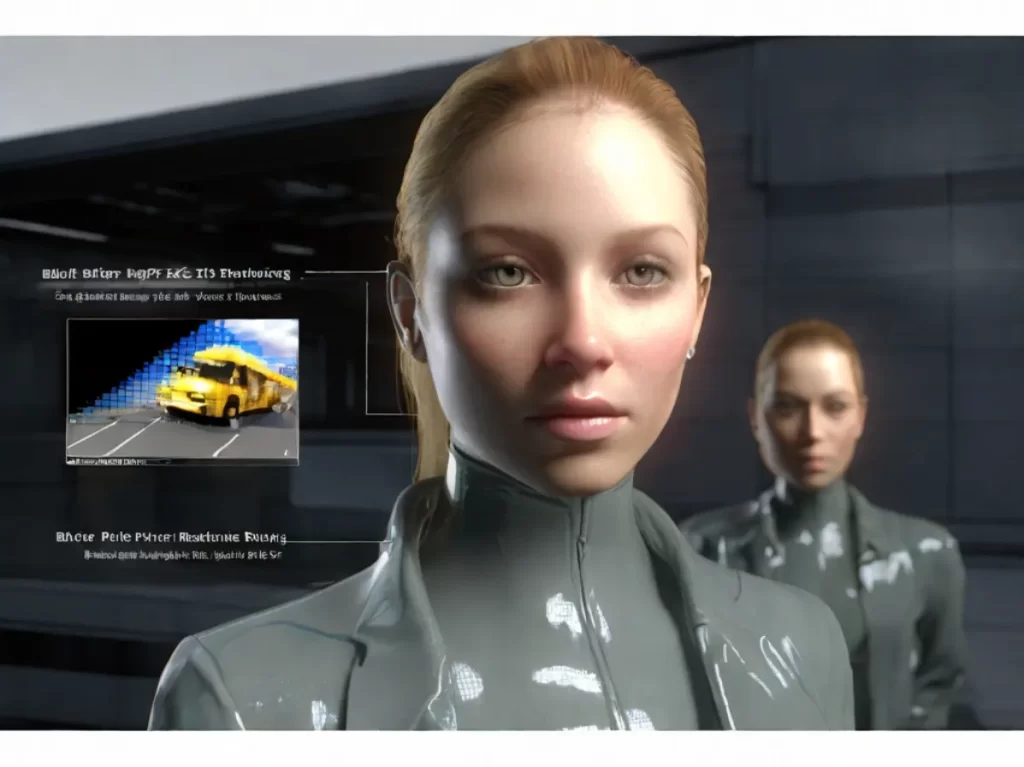
Ray Tracing
Ray tracing simulates realistic lighting by tracking the path of light rays as they interact with objects. It accurately depicts reflections, refractions, and shadows, creating highly realistic images that mimic real-world lighting conditions, making it ideal for high-quality visual outputs.
Pros
Ray tracing produces exceptionally realistic lighting and shadows, capturing subtle details and complex light interactions. This makes it perfect for high-quality images used in advertising, films, and product presentations where visual fidelity is paramount.
Cons
The technique is computationally intensive and time-consuming, requiring significant processing power and time to render. This makes it less suitable for projects with tight deadlines or limited hardware resources.
Ray Casting
Ray casting is a simpler method of simulating light by projecting rays into the scene without advanced effects like refraction. It determines visibility and shading by calculating the intersections of rays with objects in the scene, providing a basic but effective rendering solution.
Pros
Ray casting is faster than ray tracing and places a lighter load on hardware, making it more suitable for real-time applications and projects with limited resources. It provides a good balance between speed and quality for many practical applications.
Cons
The simplicity of ray casting results in lower quality and detail compared to ray tracing. It lacks advanced lighting effects, such as reflections and refractions, making the final images less realistic and visually compelling.
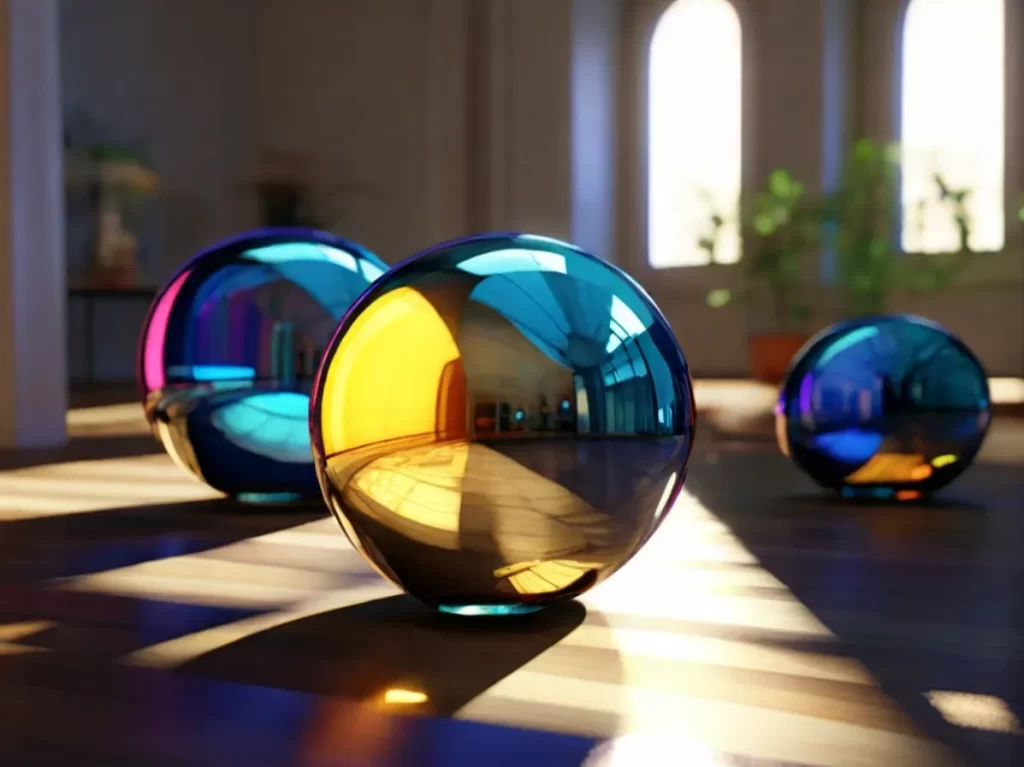
Radiosity
Radiosity calculates light as it bounces off surfaces, creating very realistic lighting for entire scenes. This technique accounts for indirect lighting, where light reflects off surfaces and illuminates other objects, leading to more natural and cohesive lighting.
Pros
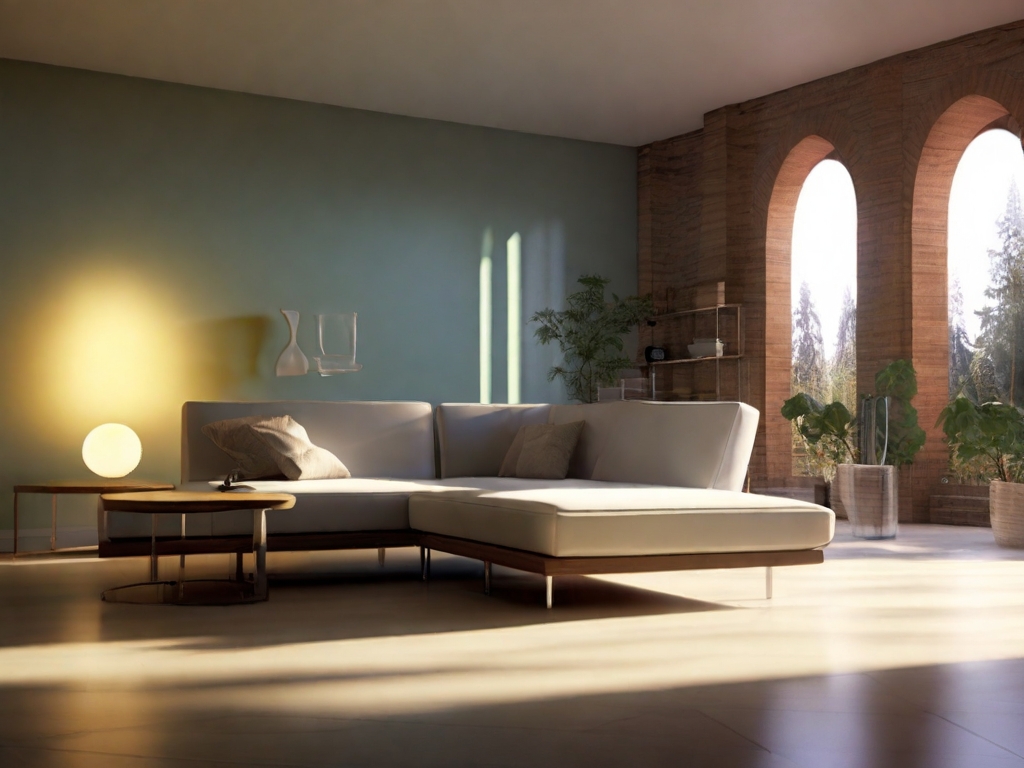
Radiosity offers highly accurate lighting effects and realistic light distribution throughout the scene. It is particularly effective for indoor scenes where light interaction between surfaces is crucial for realism, capturing the subtle interplay of light and shadow.
Cons
The complexity and slow computation of radiosity can be a significant drawback. It requires substantial processing time and resources, making it less practical for projects that need quick turnarounds or have limited computing power.
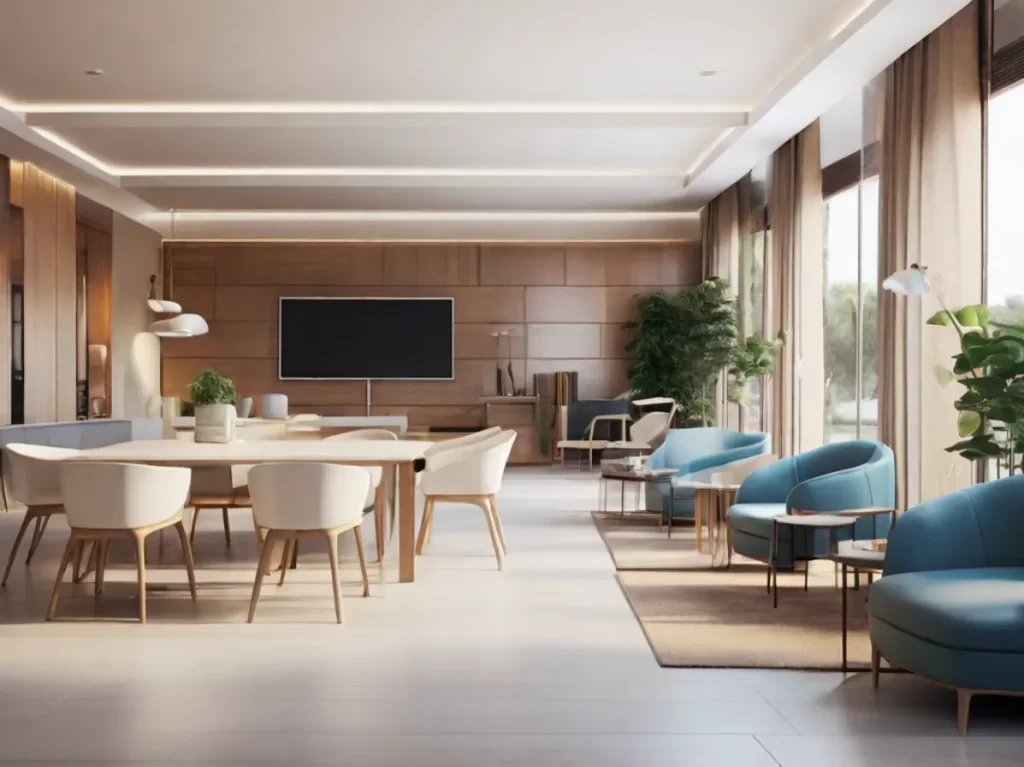
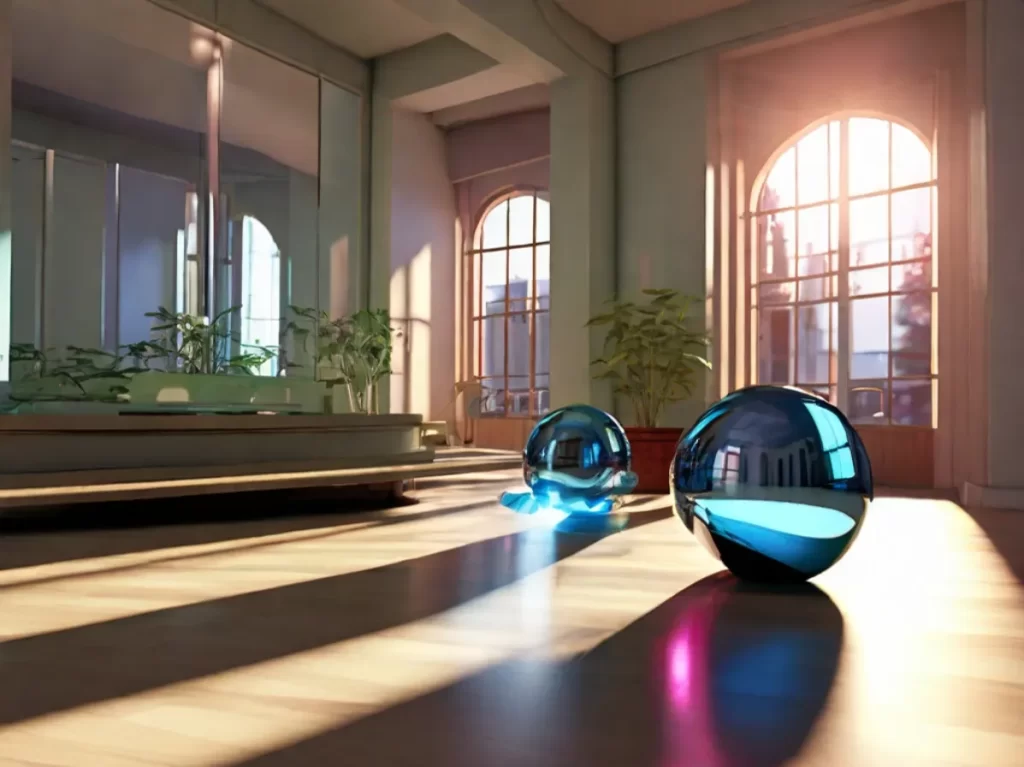
Architectural Rendering
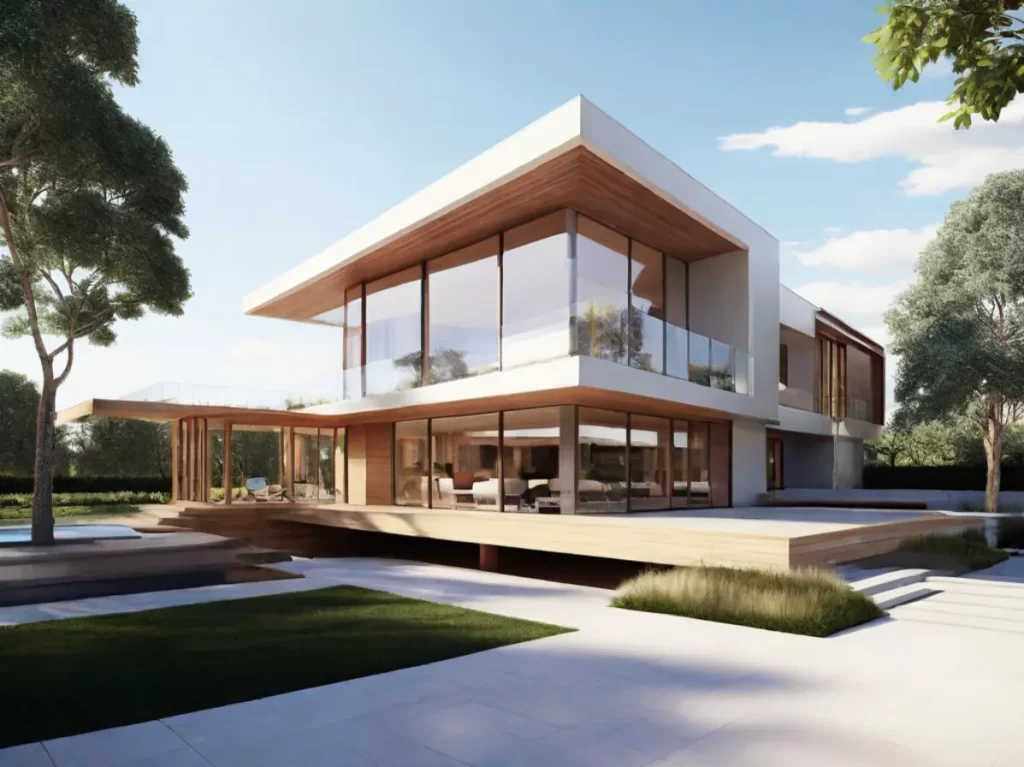
Architectural rendering focuses on creating lifelike images of buildings and structures for visualization in design and marketing. This technique helps architects, designers, and clients visualize spaces before they are built, providing a clear and detailed preview.
Pros
Architectural rendering is excellent for visualizing design concepts, and helping present ideas to clients and stakeholders effectively. It can include realistic lighting, materials, and textures, making it an invaluable tool for planning and marketing architectural projects.
Cons
Creating detailed and high-quality architectural renders can be time-consuming and resource-intensive. It requires detailed models and textures, along with significant expertise, to achieve the desired level of realism and detail.
8 Essential Tips to Enhance Your 3D Rendering Quality
Improving the quality of your 3D renders can significantly impact the effectiveness of your presentations and visualizations. Here are eight detailed tips to help you achieve stunning, high-quality 3D renders.
1. Optimize Camera Angles
Choosing the right camera angle is crucial for creating realistic and engaging renders. Imagine you’re taking a real photograph. Study reference images to understand how professional photographers capture scenes. Position your camera to mimic these angles, focusing on the most appealing and natural viewpoints. A well-chosen angle can highlight the best features of your model and make your render more compelling.
2. Use High-Quality Textures
High-quality textures are essential for creating realistic surfaces. Ensure your textures are high-resolution to avoid blurriness when zooming in. Pay attention to the material properties such as glossiness, reflectivity, and bump maps. Using detailed textures can significantly enhance the realism of your render by accurately depicting materials like wood, metal, fabric, and stone.
3. Master Lighting Techniques
Lighting can make or break a 3D render. Use a combination of different light sources, such as ambient, directional, and point lights, to create depth and realism. Experiment with natural lighting setups, like simulating sunlight or artificial lighting for interior scenes. Understanding how light interacts with objects, including shadows and reflections, can dramatically improve the visual appeal of your renders.
4. Focus on Detailed Modeling
The level of detail in your 3D models directly affects the quality of your renders. Avoid shortcuts in modeling that can lead to unrealistic or simplistic results. Pay attention to small details, such as beveling edges, adding intricate textures, and ensuring accurate proportions. Detailed modeling helps create a more believable and immersive scene.
5. Utilize Post-Processing Effects
Post-processing can enhance your renders by adding effects that improve the overall look. Use software like Photoshop or dedicated post-processing tools to adjust color balance, contrast, and sharpness. Add effects such as bloom, depth of field, and motion blur to simulate real-world camera behavior. These tweaks can transform a good render into a great one.
6. Optimize Render Settings
Understanding and optimizing your render settings can significantly impact both quality and render time. Adjust parameters such as resolution, anti-aliasing, and sampling rates to find the right balance. Higher settings usually produce better quality but at the cost of longer render times. Experiment to find the optimal settings for your specific project needs.
7. Pay Attention to Composition
Good composition is vital for creating visually appealing renders. Follow principles like the rule of thirds, leading lines, and symmetry to arrange elements in your scene. Composition guides the viewer’s eye and can enhance the narrative of your render. A well-composed scene is more engaging and aesthetically pleasing.
8. Keep Learning and Experimenting
The field of 3D rendering is constantly evolving with new techniques and technologies. Stay updated by following industry blogs, taking courses, and participating in forums. Experiment with different rendering engines and techniques to find what works best for you. Continuous learning and experimentation will keep your skills sharp and your renders top-notch.
Conclusion
In conclusion, mastering the art of 3D rendering techniques is a journey that requires attention to detail, experimentation, and continuous learning. By understanding the various rendering techniques, from scanline to radiosity, and implementing essential tips such as optimizing camera angles, using high-quality textures, and mastering lighting, you can elevate the quality of your renders to new heights. Whether you’re creating architectural visualizations, product designs, or animations, these principles apply universally to enhance realism, detail, and visual appeal.
Remember to keep pushing boundaries, staying updated with industry trends, and honing your skills to create renders that captivate and inspire. With dedication and creativity, you can transform your 3D visions into stunning visual masterpieces that leave a lasting impression.